
DIY Holiday Baubles
Welcome to my DIY Gifting series! These projects are designed with gifting in mind! In my opinion there's nothing more special and thoughtful than a handcrafted present. Creating with someone else in mind is really rewarding and meaningful too. So why not embrace craft and DIY and give the gift of handmade for your next birthday or holiday occasion? This year I’m all about the handmade gifts. I’m determined to make every present myself, even down to the wrapping!
I spotted some plain papier mâché balls in my local craft store (Spotlight or Lincraft if you're in Australia) the other day and it sparked an idea for my next project in this series. I’m a bit of a Bower Bird when it comes to craft supplies, hoarding all sorts of bits and pieces in my studio - especially anything shiny! I knew I had some crepe paper and metallic card left over from an old project and thought it would make the perfect adornment for some handmade Holiday ornaments. I fished out some old tins of paint and an idea started to form…


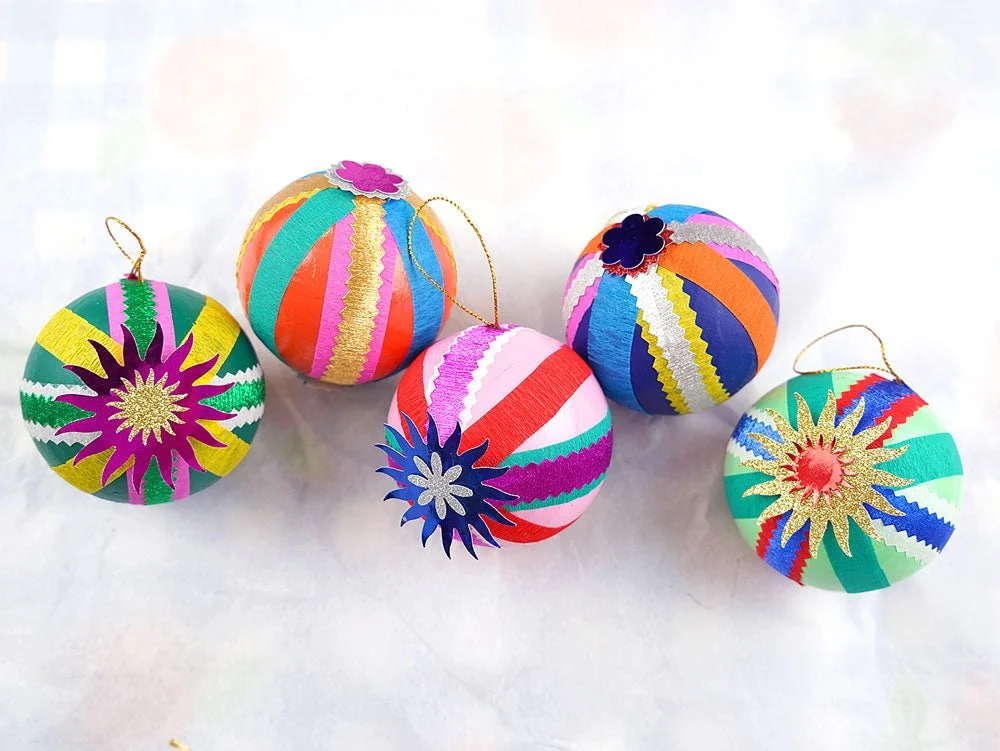
Usually when I create a new DIY project I have a full plan in mind, from the colour scheme to the exact techniques I’m going to use. With these handmade holiday decorations, I just winged it! I sat myself down at my studio table, surrounded by all my inspiring materials and baubles, and let the colours and shapes speak to me. Do you ever get that feeling when you’re crafting where you feel like everything is effortless and your creations are so aesthetically pleasing to you that it gives you the biggest thrill? That’s what I felt as these colourful papercraft baubles came to life! I hope you enjoy making them as much as I did! I’m going to hang this set on my tree, and (spoiler alert) create a whole bunch more to give as gifts to my family this year.
You Will Need
Blank Papier Mâché craft baubles (or alternatively you could upcycle some old regular baubles!)
Acrylic paint
Crepe paper
Coloured card
Double-sided tape
Hot glue gun
Scissors
Pinking shears (Optional! I used them to create zig zag edges on my crepe paper)
Craft punches (Optional! I used them to punch fun shapes but you could always cut these by hand)
Skewers
Old coffee cups
Time to craft!
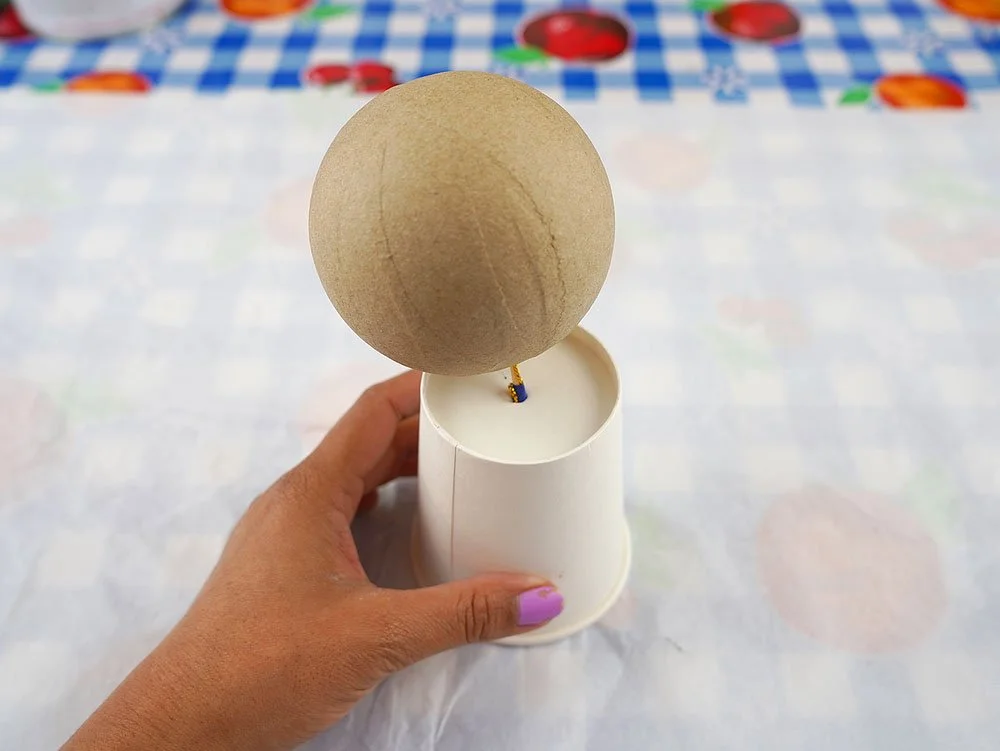
Step 1
Poke a skewer into the bauble to act as a stand for you to paint. My baubles had a little hole where the hanging string was attached which I was able to poke the skewer through. Turn the cup upside down and insert the skewer into the base to hold it up as you work.
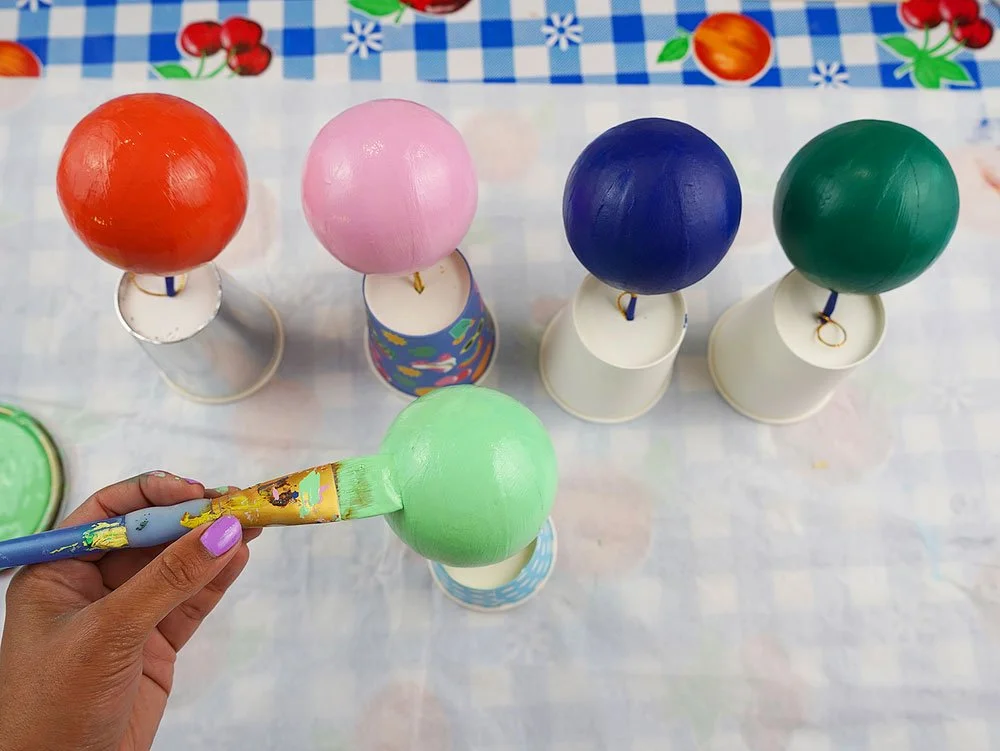
Step 2
Paint your baubles with bright, colourful acrylic paint. Painting on papier mâché requires 2-3 coats, as I find the paper is quite absorbent and sucks the paint in a bit. Allow the baubles to dry completely.
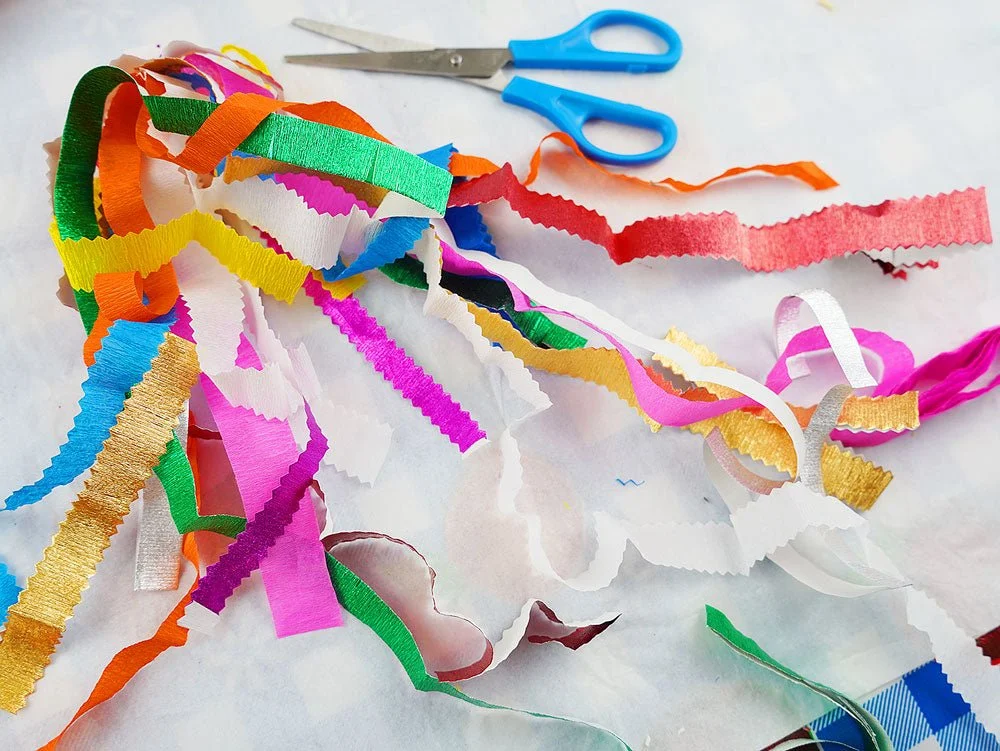
Step 3
Cut some long strips of crepe paper in various colours and thicknesses. I used pinking shears to cut some of them and create a zig zag edge.

Step 4
It’s time to decorate your baubles! Affix double-sided tape along one side of each strip. I wrapped different strips around each bauble in alternating cross formations but you can choose any design you like!
Step 5
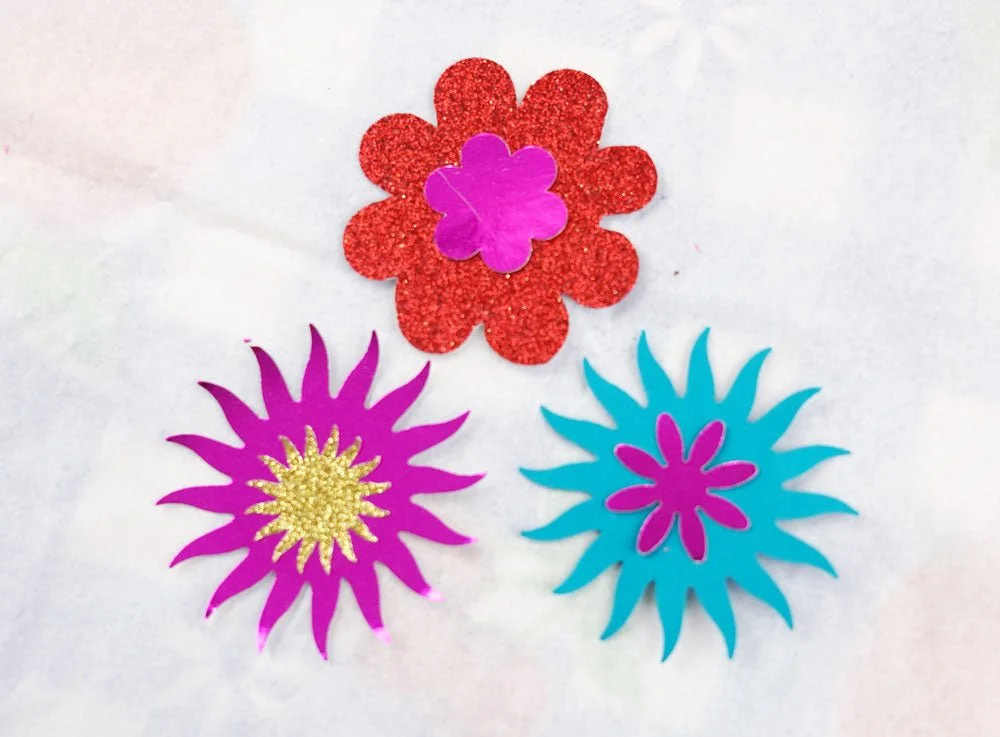
Cut some festive shapes from coloured and metallic card using either your craft punches, or scissors. Layer different sized shapes on top of each other and secure with a dab of hot glue.
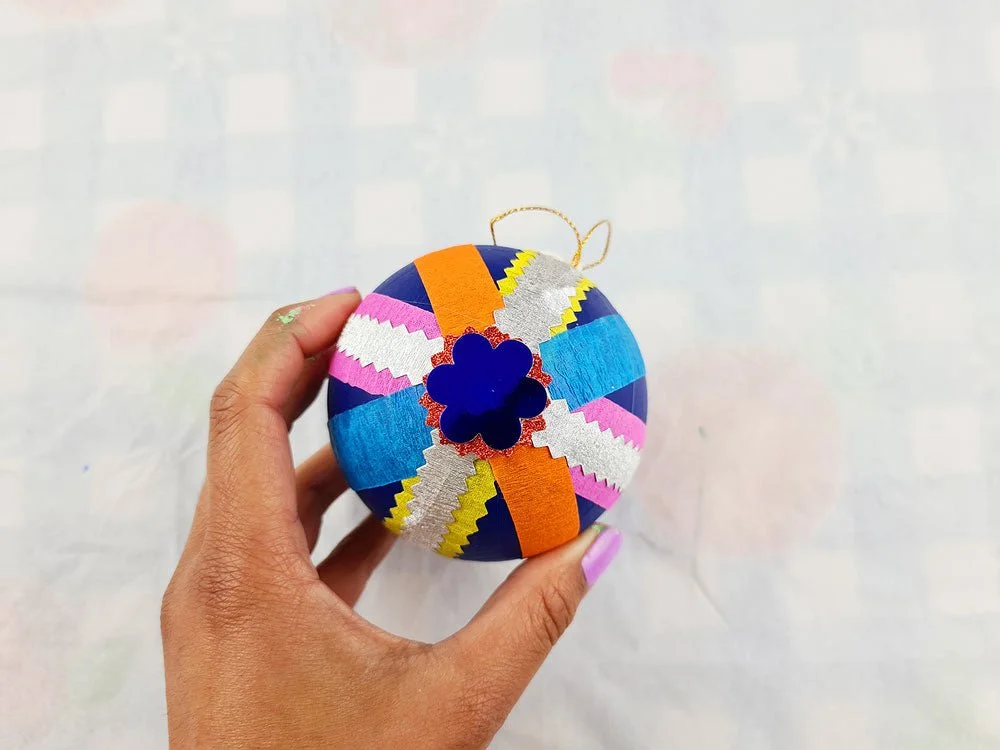
Step 6
Use hot glue to affix the festive shapes onto your baubles. They are now ready to hang from the tree or give as gifts!


