DIY Gifting: Colour-blocked Keyrings
Welcome to my DIY Gifting series! These projects are designed with gifting in mind! In my opinion there's nothing more special and thoughtful than a handcrafted present. Creating with someone else in mind is really rewarding and meaningful too. So why not embrace craft and DIY and give the gift of handmade for your next birthday or holiday occasion? This year I’m all about the handmade gifts. I’m determined to make every present myself, even down to the wrapping!
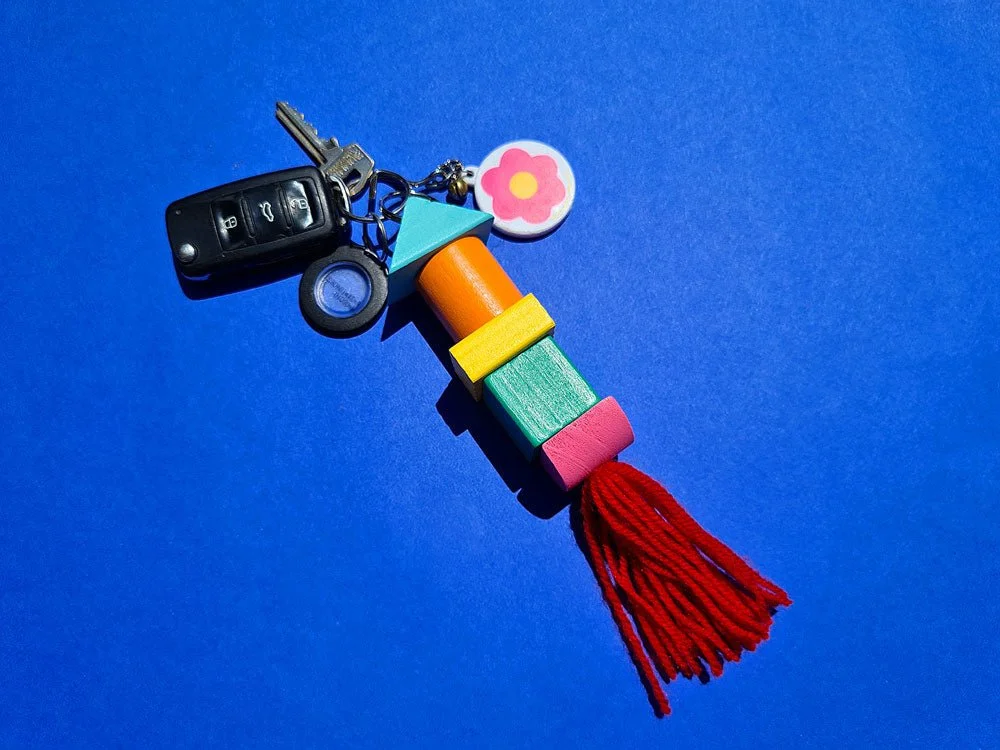
Learn how to make a colourful keyring out of wooden toy blocks in the first project in this series. They're super easy and quick, and make a great last minute gift idea. You can also use them as present toppers, Christmas tree decorations, bag charms and keychains too. They also make great stocking stuffers and Secret Santa gifts. And if you get in the swing of things and want to make them en masse, they’d be the perfect gifts for teachers or work colleagues as well. Watch the video below for the full scoop!
For this project I upcycled some wooden toy blocks that I found at a thrift shop. The colours were just so ME that I couldn’t pass them up! You can source your blocks secondhand, paint some, find them new at a toy store, or use beads if all else fails.
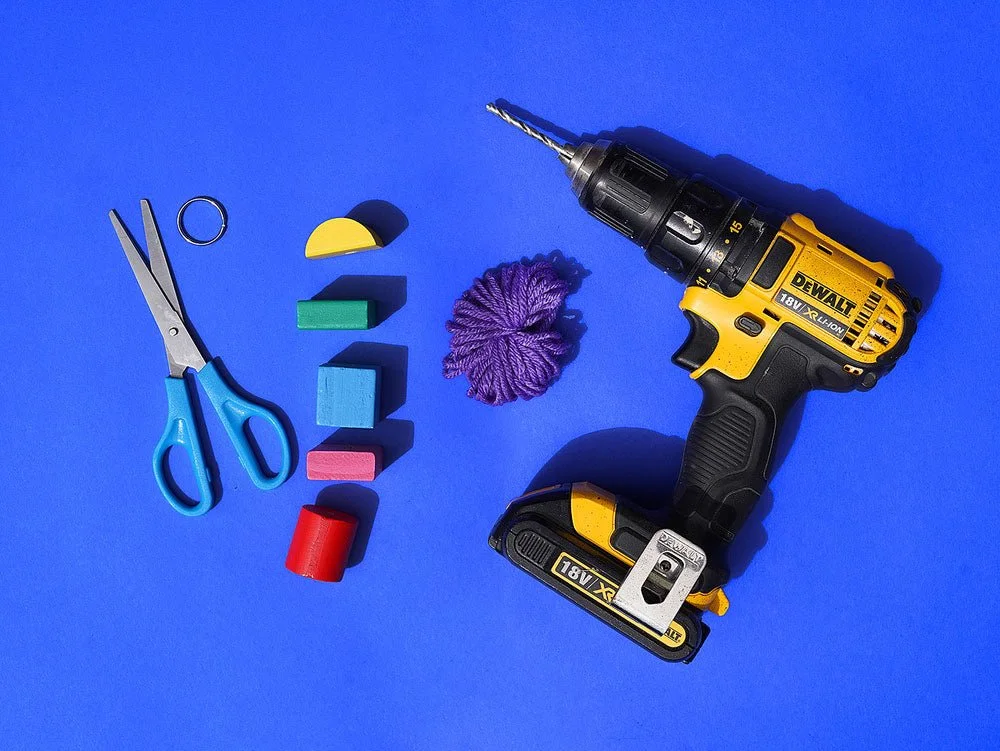
You Will Need
Wooden toy blocks
A drill
Coloured yarn
Keyring
Scissors
Clamps (optional)
Scrap piece of wood (optional)
Skewer (optional)
Time to craft!
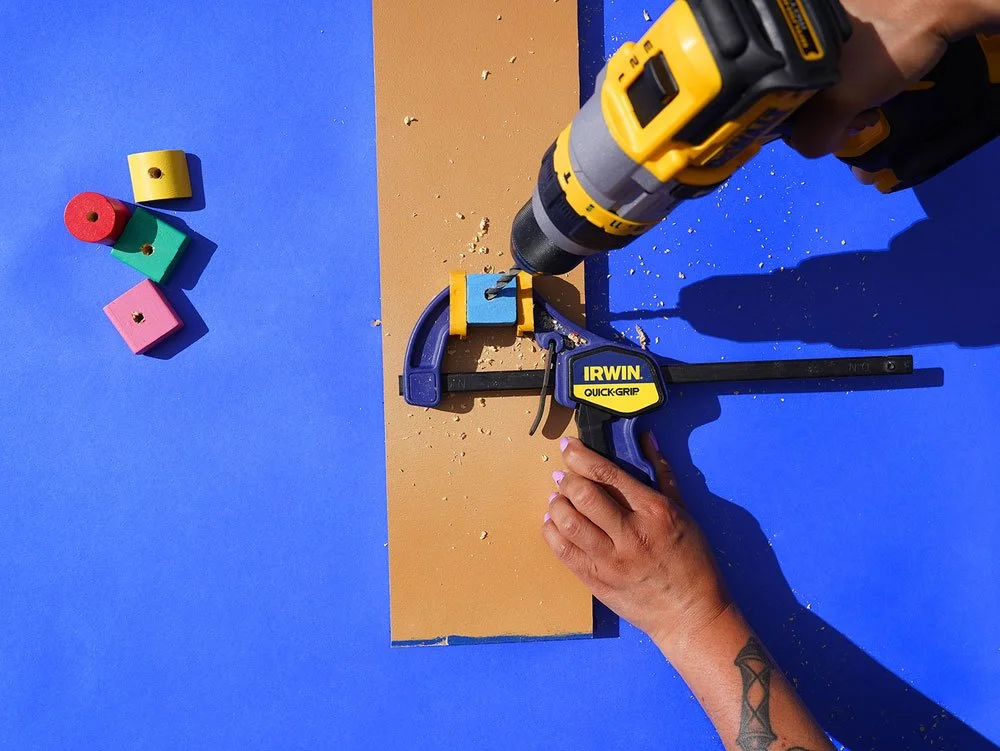
Step 1
Drill holes through all of the blocks. I used clamps and a scrap piece of wood underneath to make the drilling easier and safer.
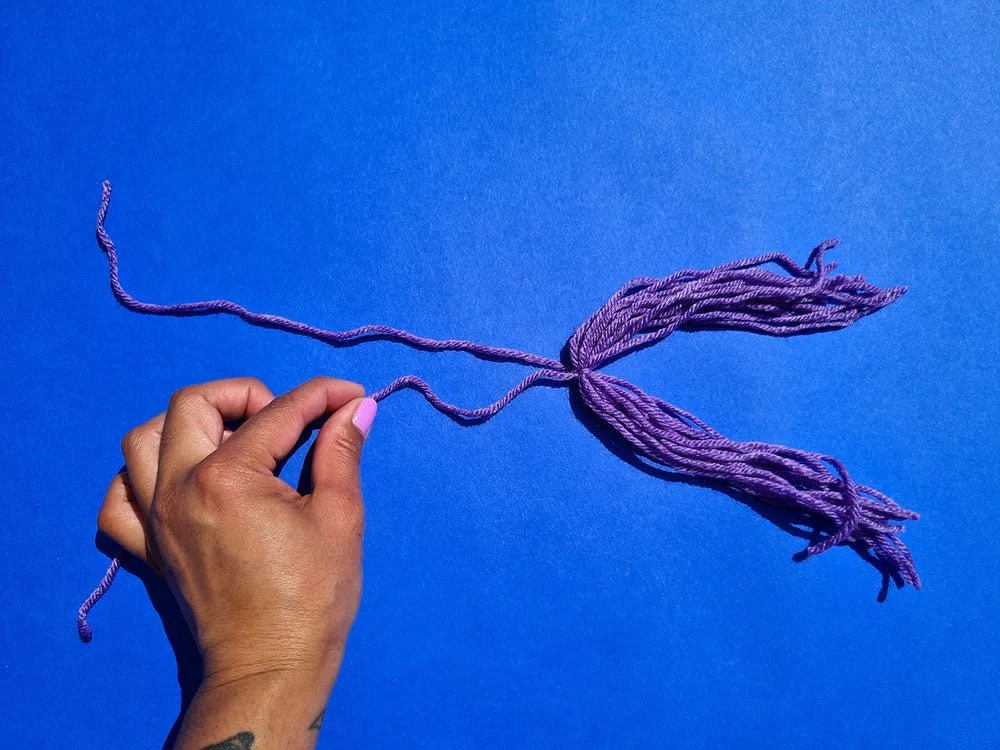
Step 2
Create a tassel by cutting a bunch of yarn strands (all the same length), then tying them in the middle with a long piece of yarn.
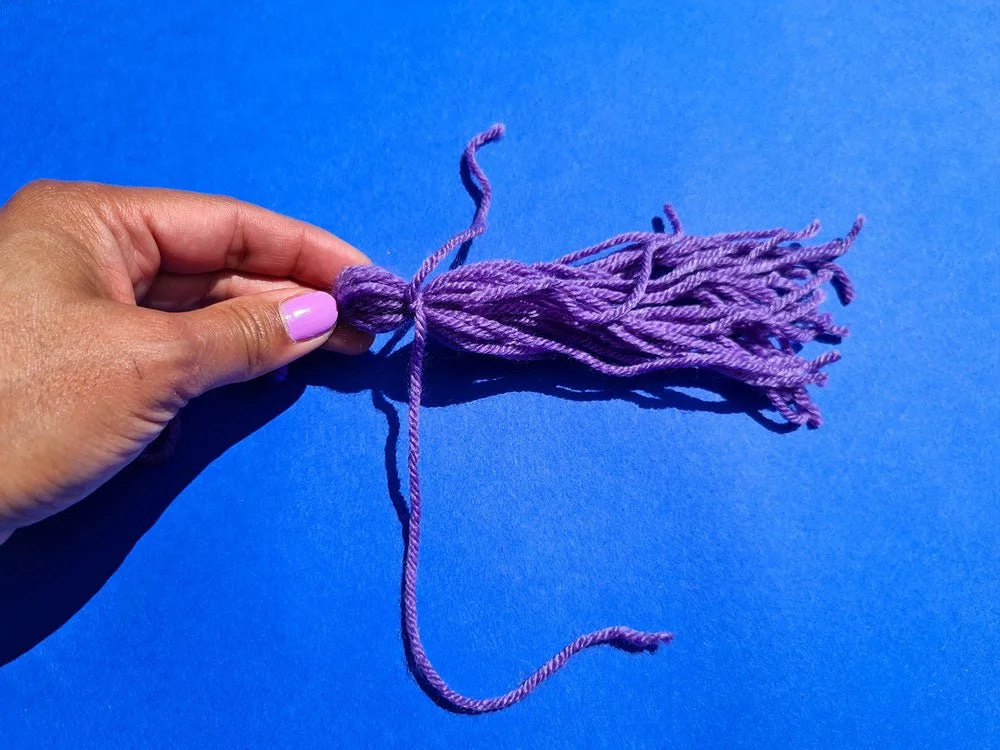
Step 3
Tie another piece of yarn around the tassel bundle, about 1cm down from the top. Trim the ends evenly.
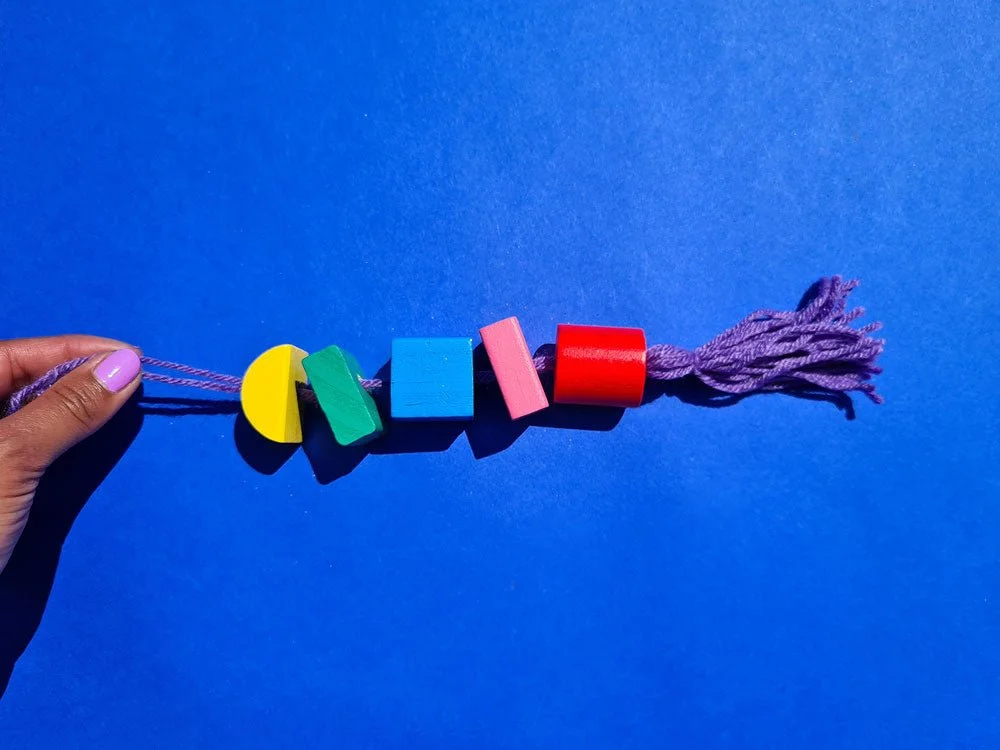
Step 4
Thread the blocks onto the tassel. I used a skewer to help push the yarn through each hole.
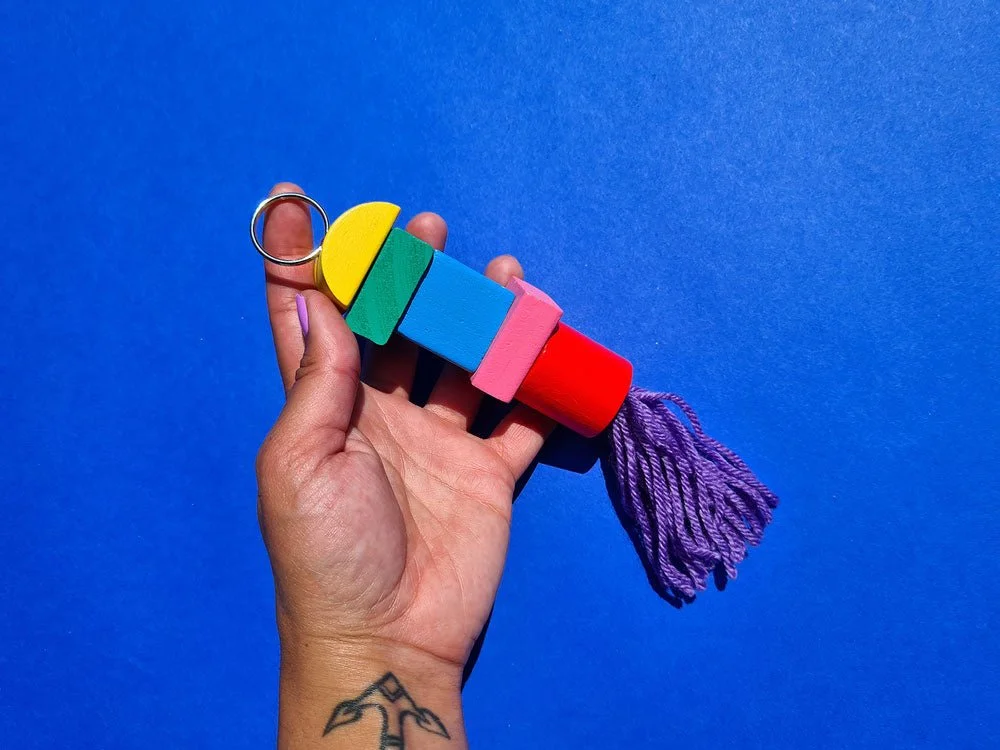
Step 5
Use the excess tassel yarn to tie a secure triple knot around the keyring. You might want to loop the yarn around a few times for extra strength. Push the excess string back down into the block hole to finish.