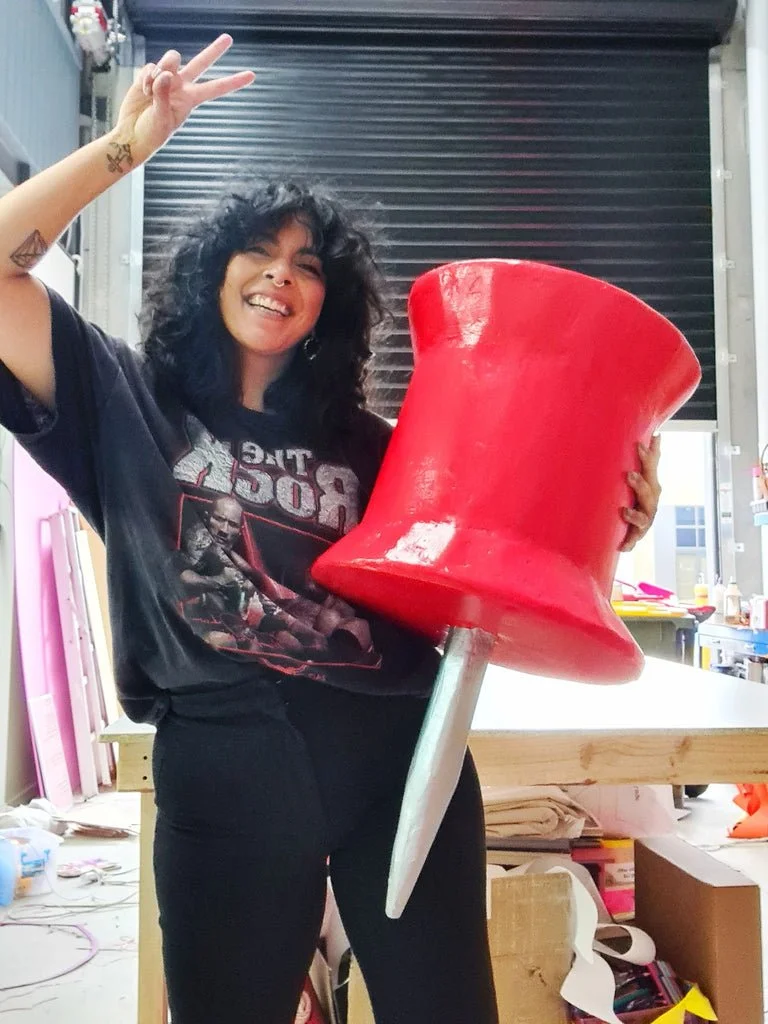
My Go-to Papier Mâché Hack
Need to build a papier-mâché prop or sculpture fast, but don’t have time to wait for glue to dry? Here’s my simple hack for speeding up the process. I used this technique to create this giant papier-mâché pin prop for a Pinterest event I was invited to speak at recently. The request to create a giant pin to bring with me on stage was quite last-minute, so I needed a way to build this, fast!
I love papier-mâché, it’s one of my favourite prop-making techniques. But the drying time can take SO LONG, especially in winter. Have you ever sat there for hours holding a hair drier in front of your papier-mâché creation, waiting for each layer to dry so you can add the next? It’s not fun. Over the years I’ve developed a little hack that I like to use any time I need to make a papier-mâché creation but am low on time.
Materials Suggestions
There are many papier-mâché techniques out there and different ways to create the paste/glue needed for your papier-mâché projects. For a faster process, I always opt for a mix of approximately 1 part PVA glue to 2 parts water, as I find that the PVA mixture dries faster than traditional flour and water paste. You want your mix consistency to be runny, but not too watery, so it’s always good to gradually add the water to the PVA while mixing, until you get a good runny paste consistency - you might find you don’t need the full 2 parts water but it depends on your particular glue consistency.
For this hack you’ll also need Multi-Purpose Joint Compound, which you can find in hardware stores. Additionally you’ll need a flexible silicone spatula, Gesso, paper strips for your mâche, coarse and fine sandpaper, and if you’re painting your creation - acrylic paint and a brush. It’s also a possibility to spray your finished papier-mâché creations with an acrylic sealant spray afterwards to protect it, but that’s up to you.
The Mâché Phase
When making large scale papier-mâché props in my studio, we usually construct the base structure out of cardboard and masking tape. This is quite a common method, and there isn’t necessarily one correct way to do this, but if you’d like me to share some tips on creating cardboard structures, please let me know in the comments!
Once you’ve got your base structure, it’s time to do your first layer of papier-mâché. As this is a hack based on speeding up the process, we’re not looking to spend too long waiting for our papier-mâché layers to dry, so I usually just do 2, sometimes 3 layers in total. On a hot summer’s day, the PVA mixture will dry super fast outside, but in winter, you could dry each layer with a hair dryer or in front of a heater.
Adding Joint Compound
Usually, to get a really solid, thick coating over your props or sculptures, you’d need to do even more layers of papier-mâché, especially if the object has a complex form that you’re trying to sculpt around and smooth out. But since we’re short on time in this instance, my hack is to add a layer of Multi-Purpose Joint Compound on top instead. Originally used for plastering walls, joint compound is a great material to use in sculpting projects because it dries hard and can be sanded down. I use a silicone spatula to apply a thick layer of joint compound all over my prop. Think of it like icing a cake! When this is done, leave it to dry completely and you’ll see that it forms a hard shell. The key is to make the layer thick, so you can sand it back without revealing the base structure beneath. Try to be as smooth and consistent as possible with your application to avoid as many ridges and bumps.
Finessing your piece
Once the layer of joint compound is dry, give it a thorough sand all over with the coarse sandpaper. You want to try to smooth out any cracks, bumps and ridges. Once this is done you can go over it with the fine sandpaper to smooth everything out. Your creation is now ready to paint. Coating it with a layer or 2 of gesso helps to prime the piece for painting. And then I find that just 1 or 2 coats of paint are enough to finish it all off. After the paint has dried you could spray it with the acrylic sealant spray if you want.
Watch the process on TikTok!
Want to watch the whole process of how I built this giant papier-mâché pin? Check out Part 1 and Part 2 of my pin prop build on my TikTok page. And follow me @kitiyapalaskas for more prop builds!


