
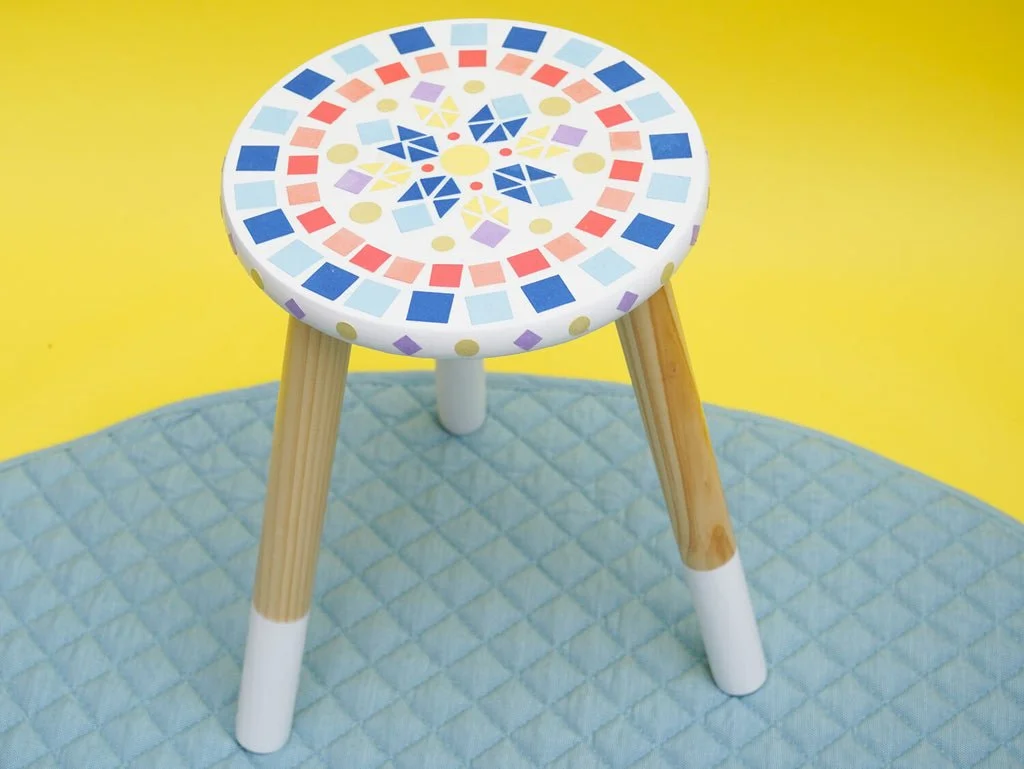
DIY Upcycled Mosaic Stool
Try this easy DIY project to upcycle an old, plain stool - transforming it into a chic and colourful sidetable to stash all your go-to supplies. This project would be perfect if you're looking to add a handmade touch and a splash of colour to a newly decorated room, like a nursery or a kids' bedroom.
I took cues from traditional mosaic and decoupage crafting techniques and gave them a modern twist using papercraft. You can use specialised decoupaged paste for this project if that’s your thing, but, if you’re vibing on keeping things quick and simple, all you will need is PVA glue and a few basic crafting supplies.

You Will Need
An old stool
PVA glue
Coloured paper or thin coloured cardstock
Template sheet (or alternatively you can design your own mosaic)
Scissors or cutting knife
Ruler
Pencil
Sponge applicator
Tweezers

Time to craft!

Step 1
Print out the template sheet. The shapes in the template were designed to fit a stool approximately 26cm in diameter. Feel free to enlarge or decrease the templates when printing to fit your own stool. Cut out each template shape and use them to trace and cut your shapes from the coloured paper.
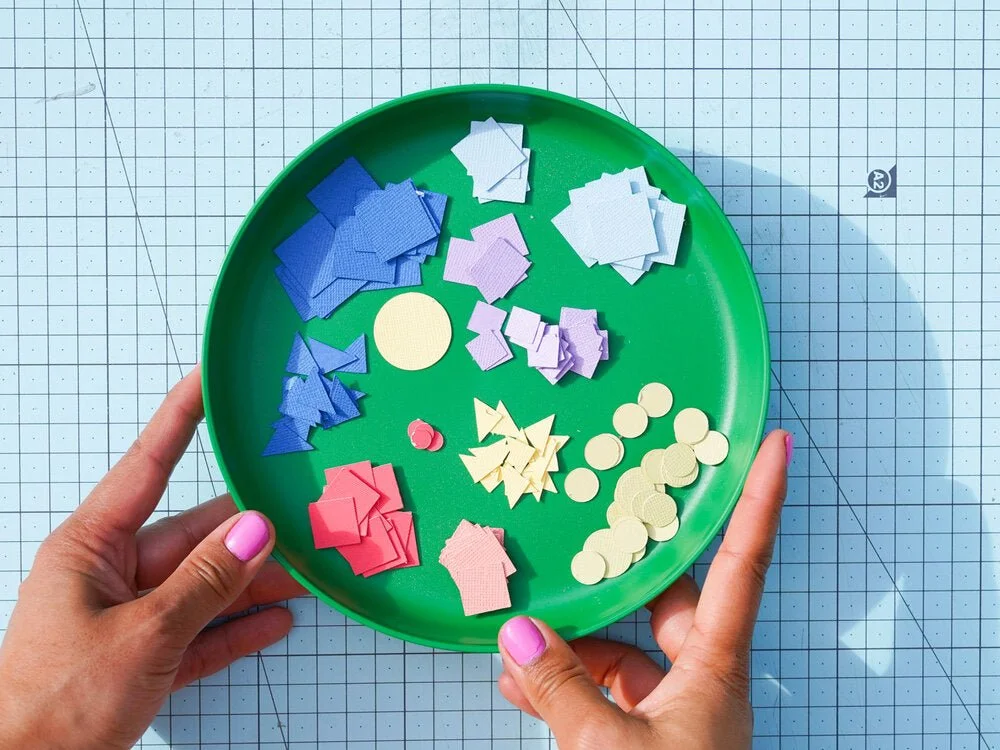
Step 2
Once you’ve cut all your shapes out, sort them by type and colour to make it easier to find what you need when you create your mosaic.

Step 3
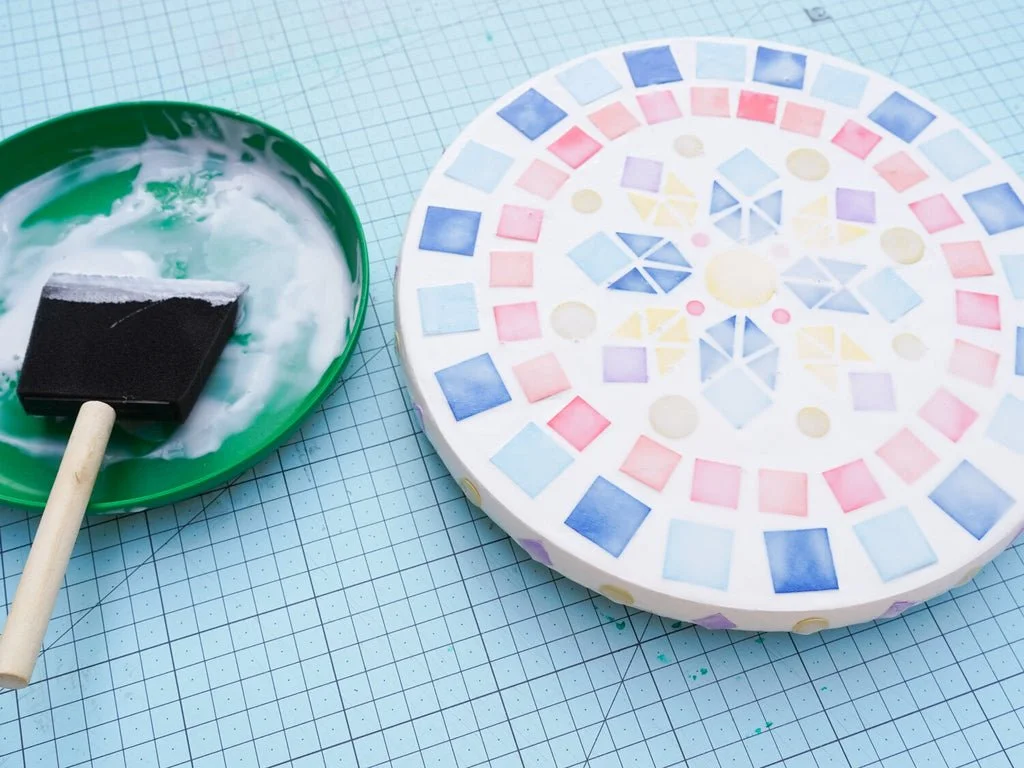
Use the sponge applicator to apply an even layer of PVA glue across the top surface of your stool.
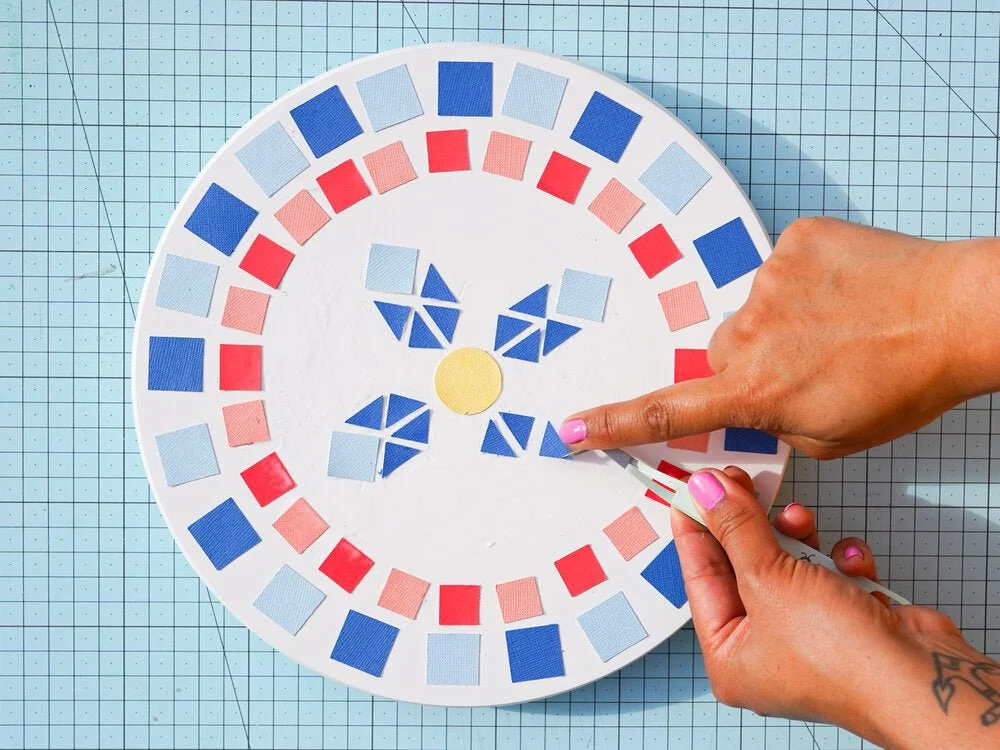
Step 4
Working quickly while the PVA is still wet, begin laying out your mosaic design onto the stool.

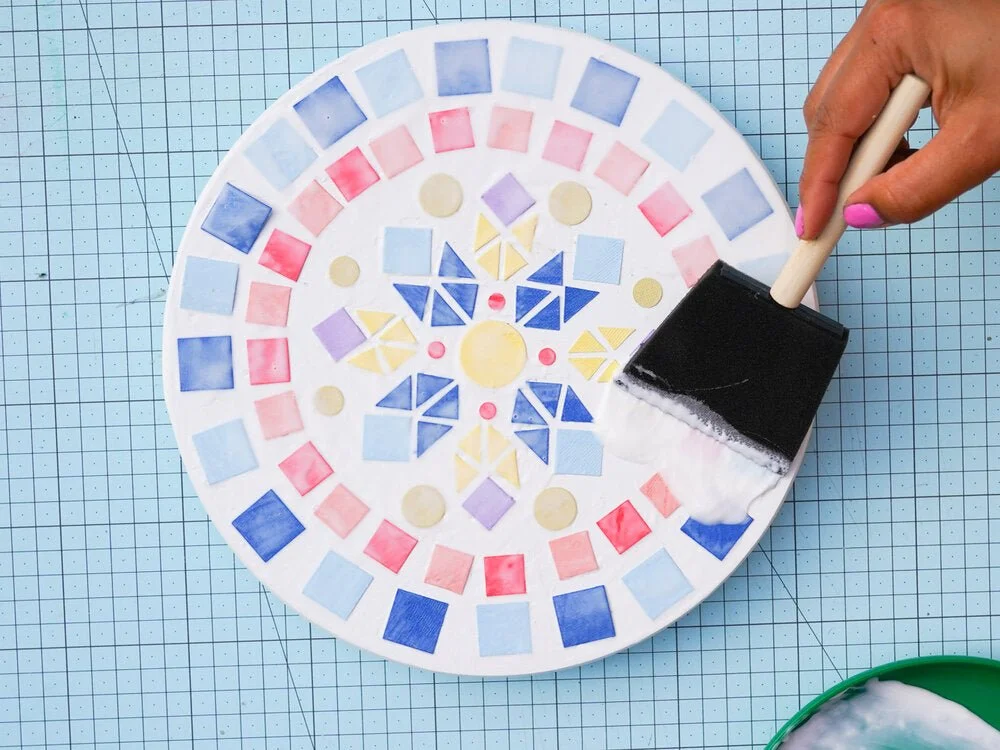
Step 5
Once this initial layer of PVA is completely dry, gently coat the entire surface with a thick, even layer of glue. Try to avoid bubbles where possible. If you find the glue is bubbling, gently pass the sponge back over to even it out. Allow the glue to dry completely.
Step 6
If you would like to decorate the edge of the stool too (or the legs if you’re feeling extra!) repeat Steps 3-5.
Step 7
Once your glue has dried completely, you can go back in with another thick, even layer. Repeat this a couple more times (allowing the glue to dry in between each time) until your mosaic shapes are completely coated in PVA. You basically want to seal them under multiple layers so they’re sealed beneath the surface.


Set your new side table up in the nursery or your favourite room and use it to stash all your go-to items in easy reach!