
DIY Craft Cart Upcycle
Feel like getting creative but you’re short on time? Here’s a simple upcycle for your trusty craft cart, using vinyl decals! You could use these decals for anything really, and it’s a great project for beginners if you haven’t used a Cricut machine before. I designed the decals so that they’d fit along the edges of a standard craft cart, like the kind you can get at Ikea. If you don’t have a Cricut machine, you could still use the vinyl, and cut your own decals by hand. Let’s jump in!
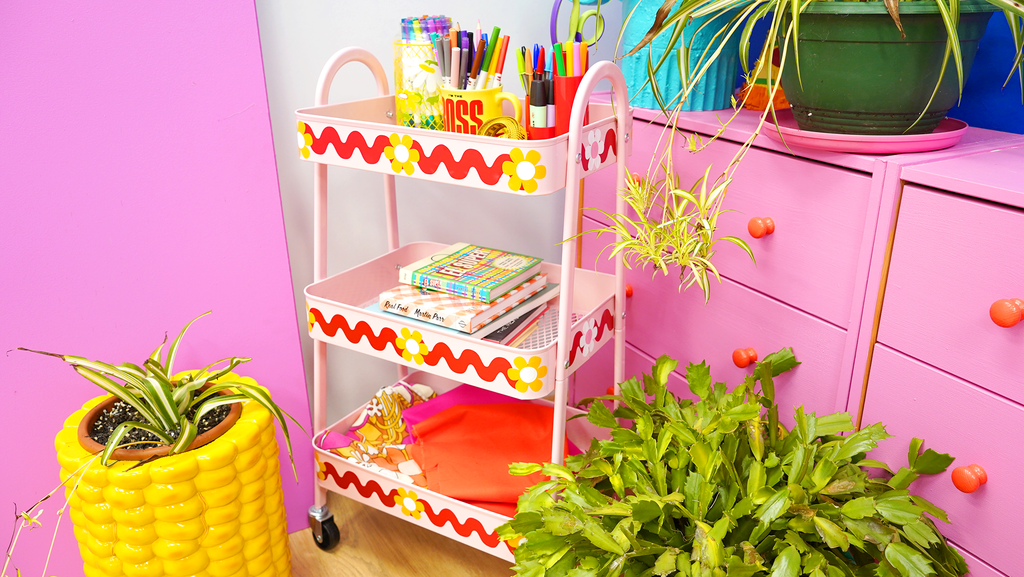
As you know, I’m a total maximalist when it comes to design, interior decor, and fashion. More is more I say! So when it comes to practical items and pieces of furniture in my studio, I’m always tempted to add flair. I just can’t leave a plain surface plain! I had this little craft cart rolling around my studio and decided it needed something extra.
At the moment I’m experimenting with designing and creating vinyl decals on my Cricut. I think I’d eventually like to sell little decal packs so you can decorate all your favourite surfaces. For now thought, I’m still in the playing stage and this project is the result of a simple border design experiment. As I said above, if you don’t have a Cricut cutting machine, don’t worry - you can still purchase the vinyl from your local craft store, and cut some decals by hand! If you’re new to Cricut, the tutorial video below includes a great introduction that will get you acquainted with this fabulous machine that’s become a studio staple for me!
Time to get crafty!
Watch the video for a full walkthrough, then follow these simple steps to create your vinyl decals.
You will need
Cricut Maker 3 machine
Cricut vinyl
Vinyl applicator (optional)
If you have a Cricut Design Space Access subscription, you can access the ready-to-cut project here.
The first thing I did was to design the decals for my project. For the sake of simplicity for beginners, I designed my decals directly in Cricut’s Design Space app, using shapes that were already available in the Cricut image library. You can edit the size, placement, colour and even shape itself in Design Space to really personalise your creation. To make things easier for you if you want to try this out, I’ve uploaded the entire project ready-to-cut to my profile on Design Space, so you can just look me up (search for ‘Kitiya Palaskas’ in Design Space), and find the project, and it’s all ready to go for you. You can customise it if you want, but it’s all ready to go for you as is.
Once the project is ready to go, you make sure your machine is turned on and connected to your computer, and then you just hit Make It. The machine splits each colour into separate cuts, and you can select which material you want to cut with. Load up your materials, and then let the machine do the rest!
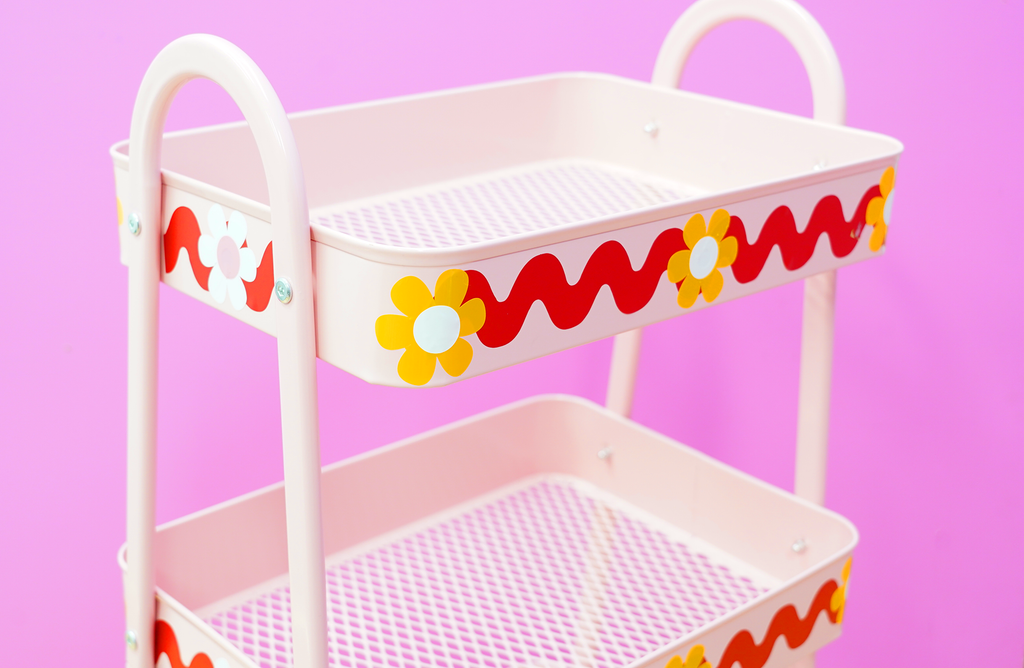
Once your materials are cut it’s time to remove them from the vinyl backing paper and apply them to your craft cart. Make sure the surface you’re sticking to is clean and even before you begin. Now there’s lots of ways to apply vinyl to surfaces. Cricut has some handy tools like application tape and applicators that help the process. But I like to work with what I’ve got, so I’m just using my hands, which in certain situations actually gives you more control. I also have an old signwriters applicator that I sometimes use to smooth the vinyl. Start with the wavy decals and carefully position them and then smooth them down onto the surface bit by bit. You can remove the vinyl quickly if you need to straighten anything out and stick it down again. Then, move on to applying the flower motifs.
4. When you’re done with the front and back edges, you can then do the sides with the shorter wavy decals. Depending on the size of your cart, you may need to trim the ends of the wavy parts.
This project was made in collaboration with CraftPunk. Subscribe to theYouTube channelto explore our weekly creative vlogs and DIYs!