
DIY Cocktail Piñata
It’s International Margarita Day on 22 Feb, and y’all know I LOVE a marg. So here’s a lil throwback tutorial from my DIY craft book, Piñata Party, which is 6 years old this year!
Follow the instructions below to create your very own margarita piñata in honour of the G.O.A.T of all cocktails. Bonus points if you fill it with actual margaritas.
You Will Need
2 sheets screenboard: 76x102cm, 620gsm
Masking tape
Scissors
Ruler
Pencil
Hot glue gun
Hole punch
Cord for hanging
Treat for filling
3 large pieces of card for umbrella stand, straw, and orange slice
Colourful crepe paper
Double-sided tape
A margarita to drink while you craft!
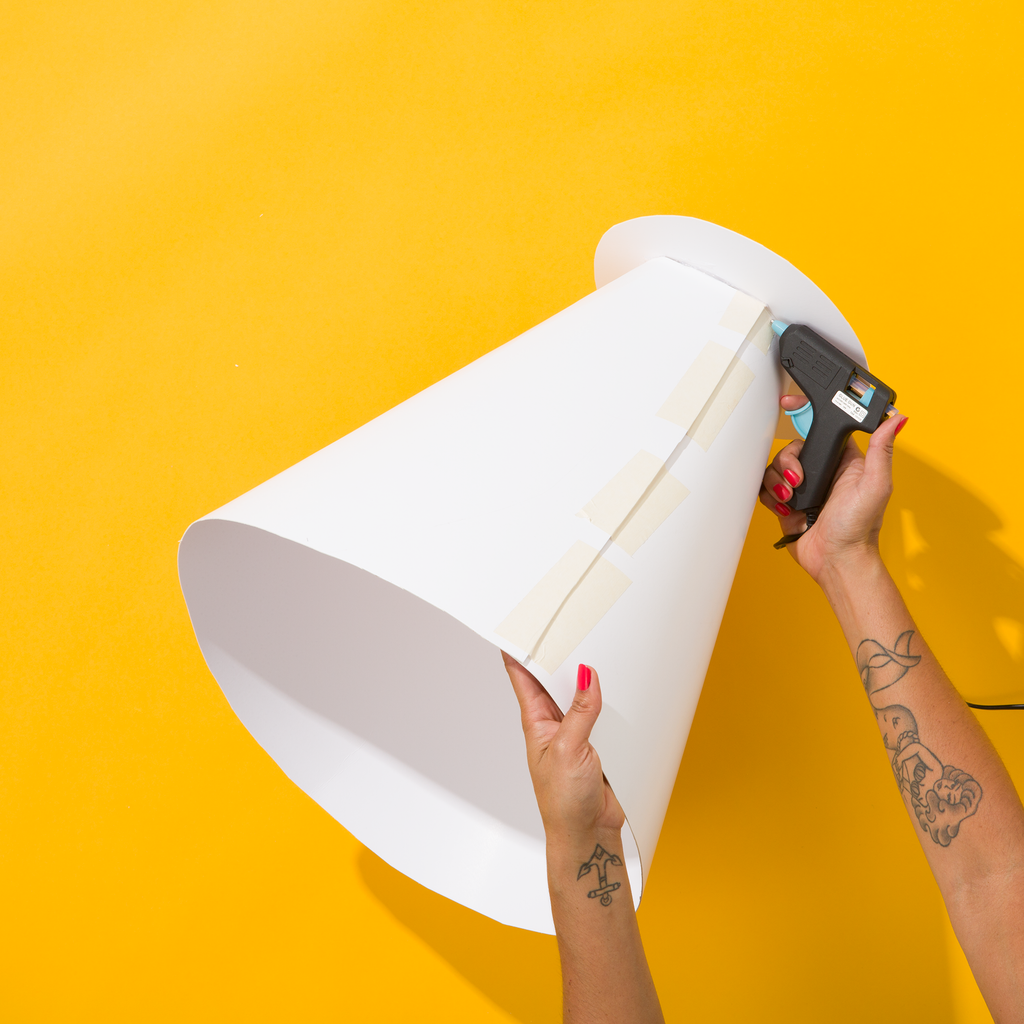
Step 1
To create the cocktail glass, shape and trim a piece of cardboard into a loose cone-like shape and secure with masking tape. Seal the smaller end with a circle of cardboard to form the base.
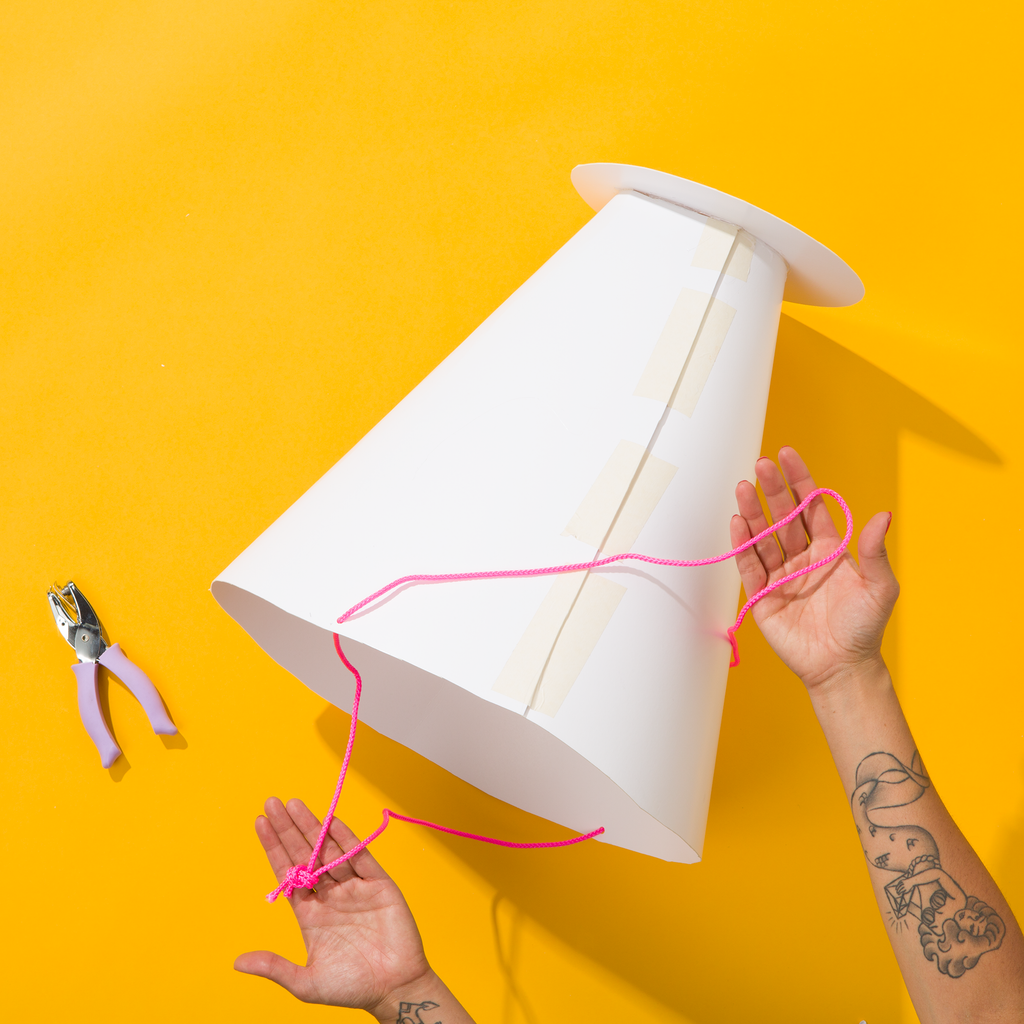
Step 2
Use a hole punch to create a hole in the cocktail glass. Attach a hanging string to the top open edge
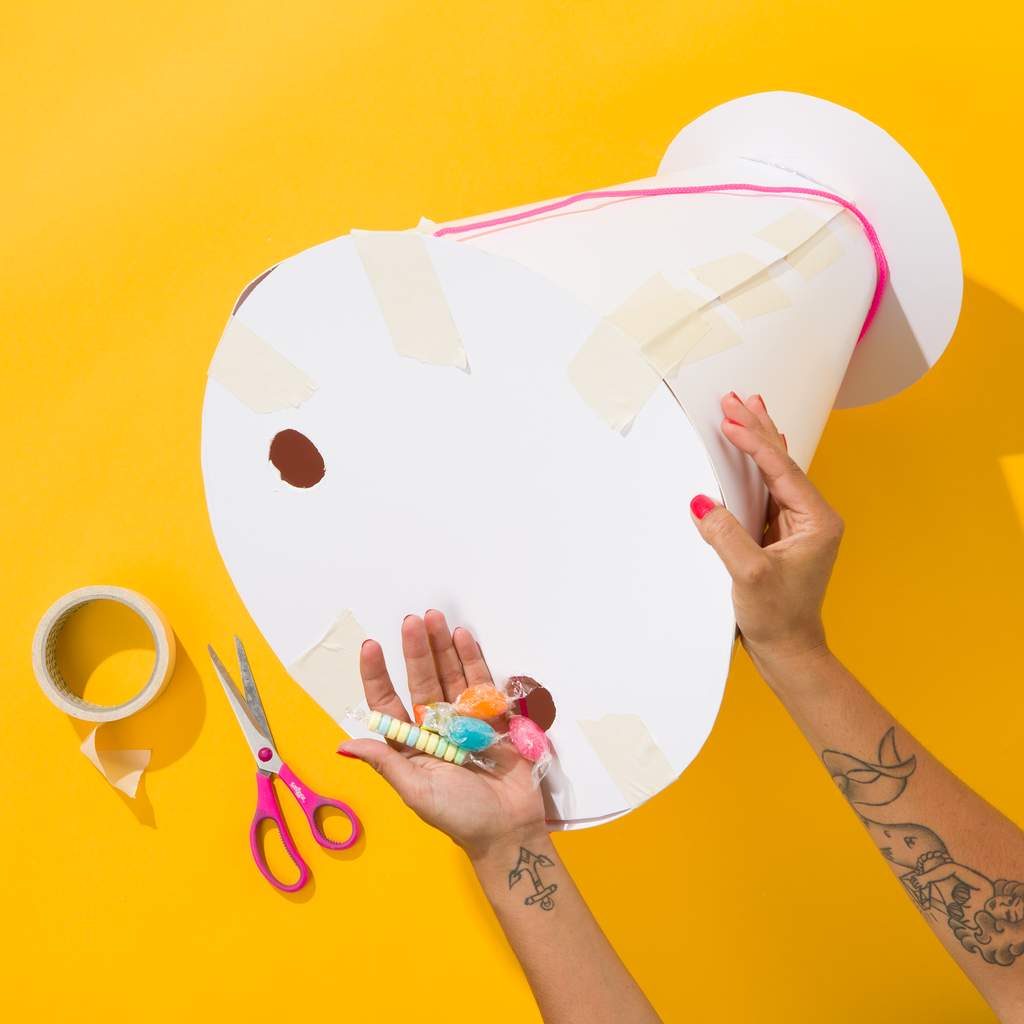
Step 3
Cut a cardboard circle to fit the opening of the cone. Cut 2 small holes in this circle. Then, seal up your piñata with masking tape. Fill the piñata with candy.
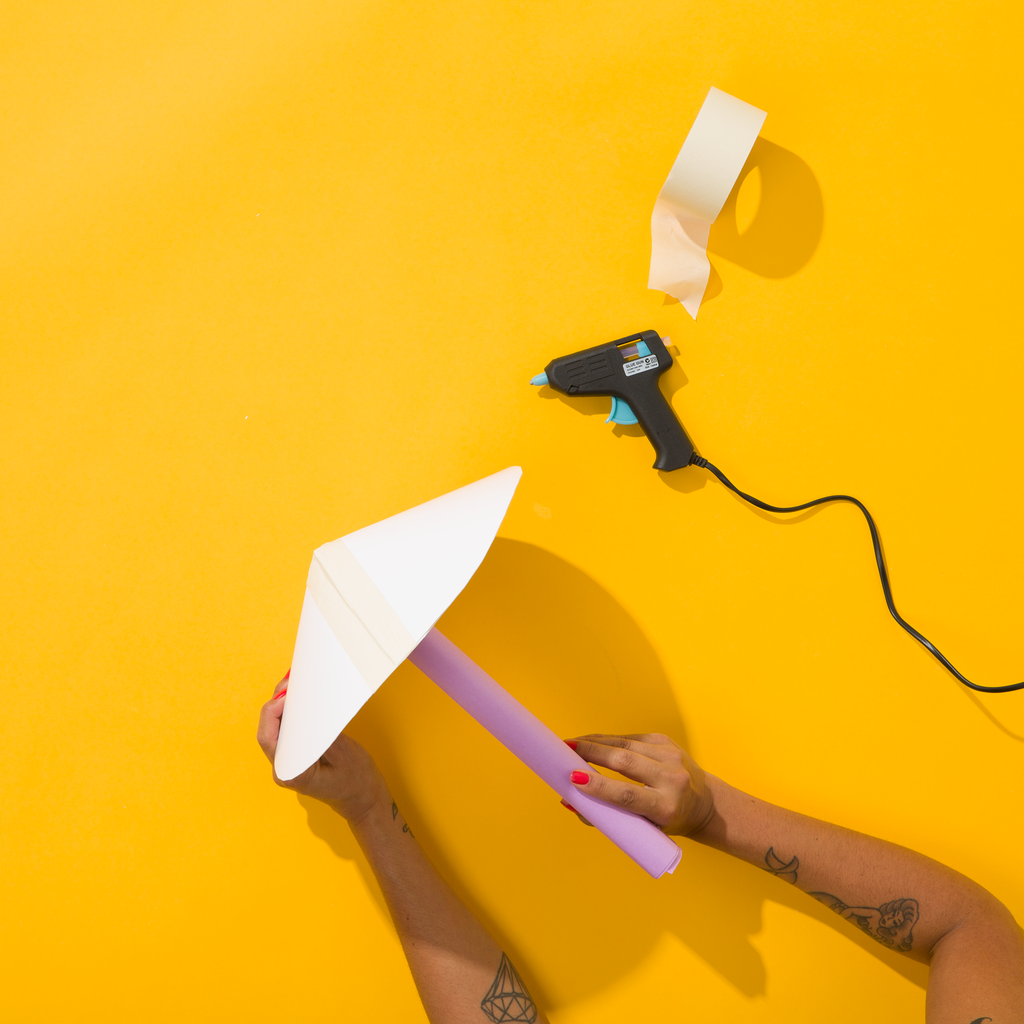
Step 4
Make a cocktail umbrella out of another cardboard cone and hot glue a rolled up tube of paper to the inside for an umbrella stick.
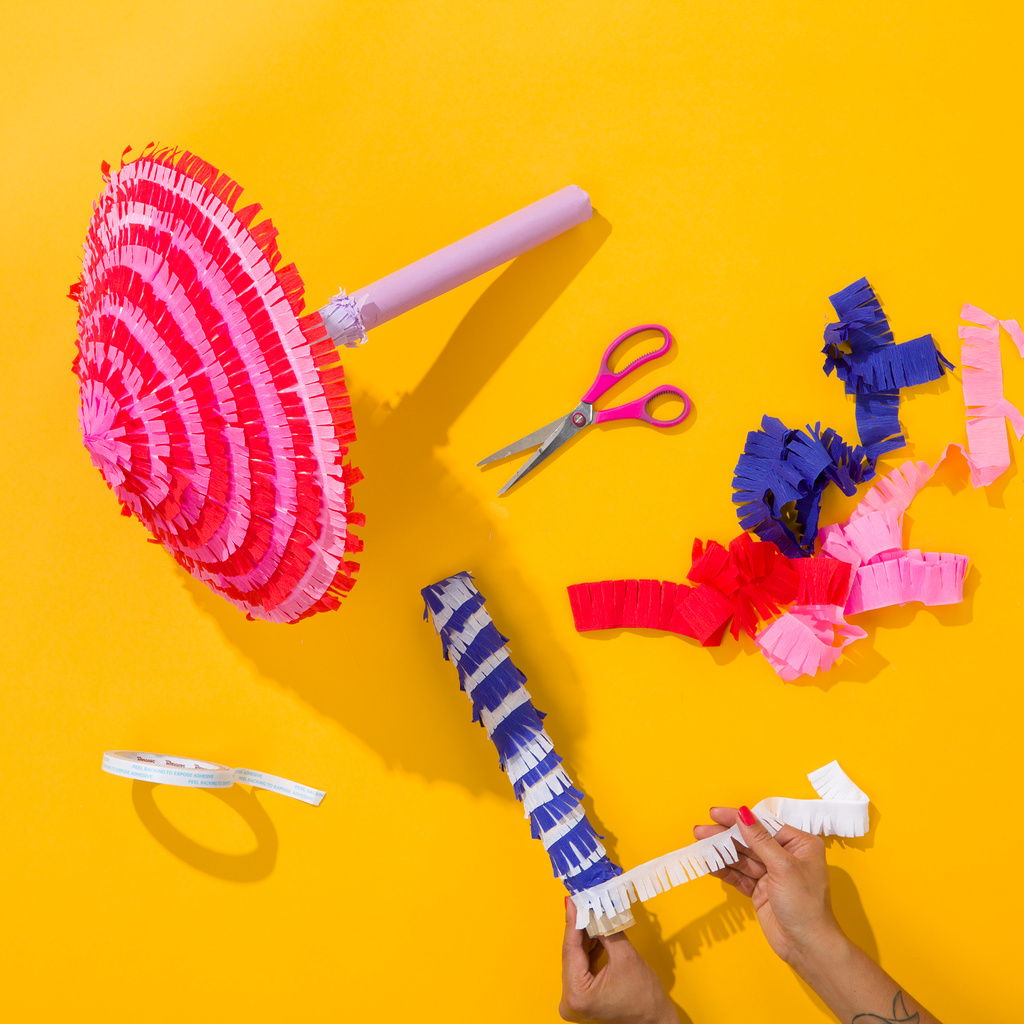
Step 5
Use double-sided tape to decorate the umbrella with colourful crepe paper fringe. You can also make a cocktail straw too.

Step 6
Use double-sided tape to decorate the cocktail glass with crepe paper fringe as well.
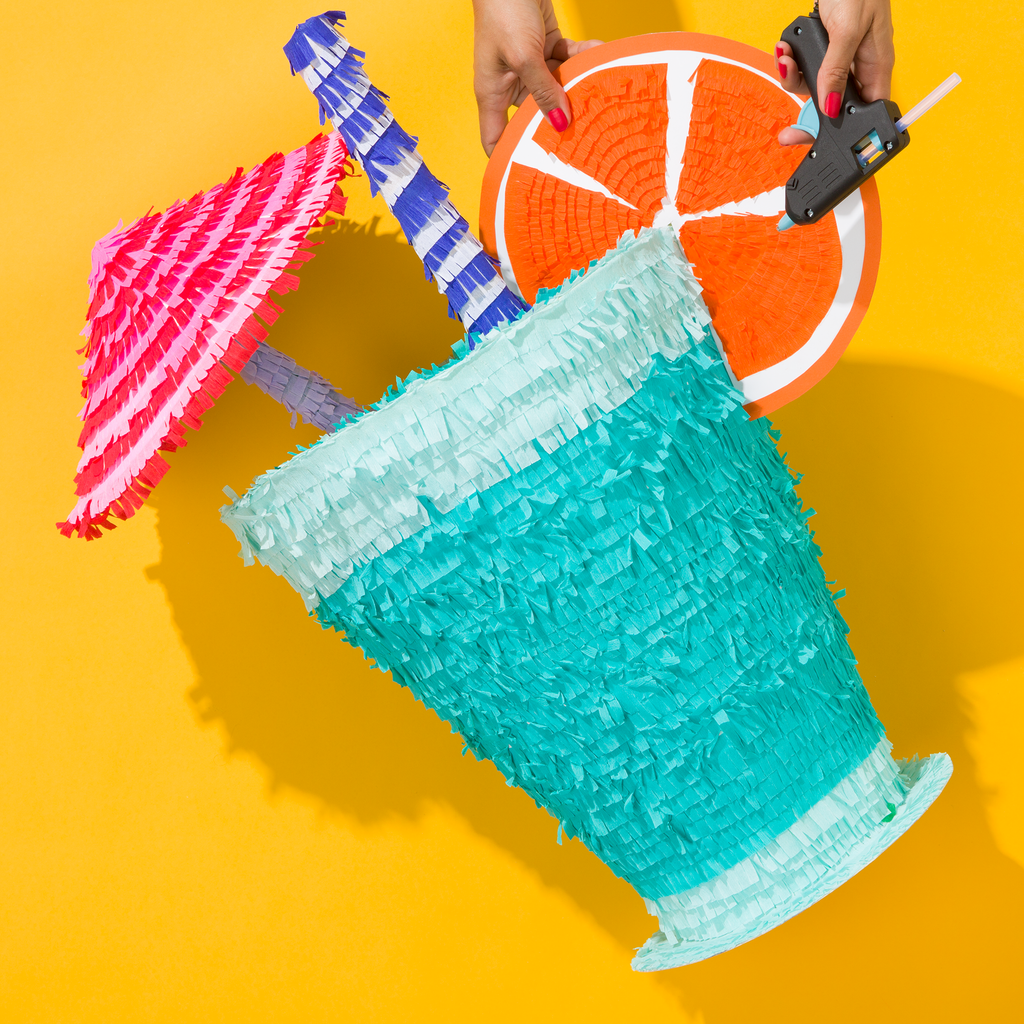
Step 7
Insert the umbrella and straw through the holes you cut earlier. Create a citrus slice out of cardboard and crepe, then hot glue it on. Smash and enjoy!

Tag us on socials at @kitiyapalaskas if you try this for yourself, we'd love to see what you make!